How to Create a Data Model in 9 Steps
Knowing how to create a data model is the first step toward building a successful app. This is the foundation of how you’ll transform your business requirements into reality.
In fact, all other elements of your app build on your data model.
However, coming up with an effective data model presents a few key challenges. This is a complex process, involving end-users, technical teams, and other business stakeholders.
Today, we’re going to look at exactly how you can create a successful data model.
First thing’s first, let’s start with the basics.
What is a data model?
A data model is an abstract overview of how your app stores, connects to, organizes, and manages data. This includes the values you need, where they come from, and how they’re structured.
This is distinct from a database schema, in a couple of ways:
- Your data model design encompasses how data is structured across all sources, whereas the schema typically only applies to a single source.
- The data model is more concerned with how data is structured in abstract terms, rather than the technical details of each individual source.
Data modeling is the process of creating a model based on your real-world data requirements.
The goal of data model creation is to build a framework for how your application will handle and process data. This then forms the basis of building out your app’s automation processes and user interfaces.
Why do you need a data model?
Perhaps a better question is ‘why do you need to explicitly build a data model?’ Every app has a data model. It’s really just a question of whether or not you’ve put the thought into creating the most effective one for your needs.
This impacts your information systems’ security, functionality, performance, scalability, and usability, to name just a few factors.
As such, it pays to get your data model right the first time around.
This is especially true when pulling data from sources within a single application. For example, some of the information you need might be contained in external sources, alongside an internal database.
A large part of developing a data model is establishing the data you’ll need, and where it will come from.
Having an effective data model in place also allows you to ensure compatibility between multiple sources, optimum performance, scalability, and effective security within your data warehouse or other information assets.
How to create a data model for your app project in 9 steps
To ensure the best results, it’s useful to follow a reproducible framework.
Here are the specific steps you can follow to build the perfect data model for your next app project, along with all of the key things you’ll need to consider along the way.
1. Gather business requirements
The first step is gathering business requirements for how your application will process data. At this stage, requirements can be fairly general, and we don’t need to worry about specific variables just yet.
Essentially, gathering requirements means figuring out what your app will actually do, and a broad overview of what data you’ll need to achieve this.
This means engaging with different business stakeholders, including end-users, decision-makers, clients, and technical colleagues, to establish an overview of the app’s required functionality.
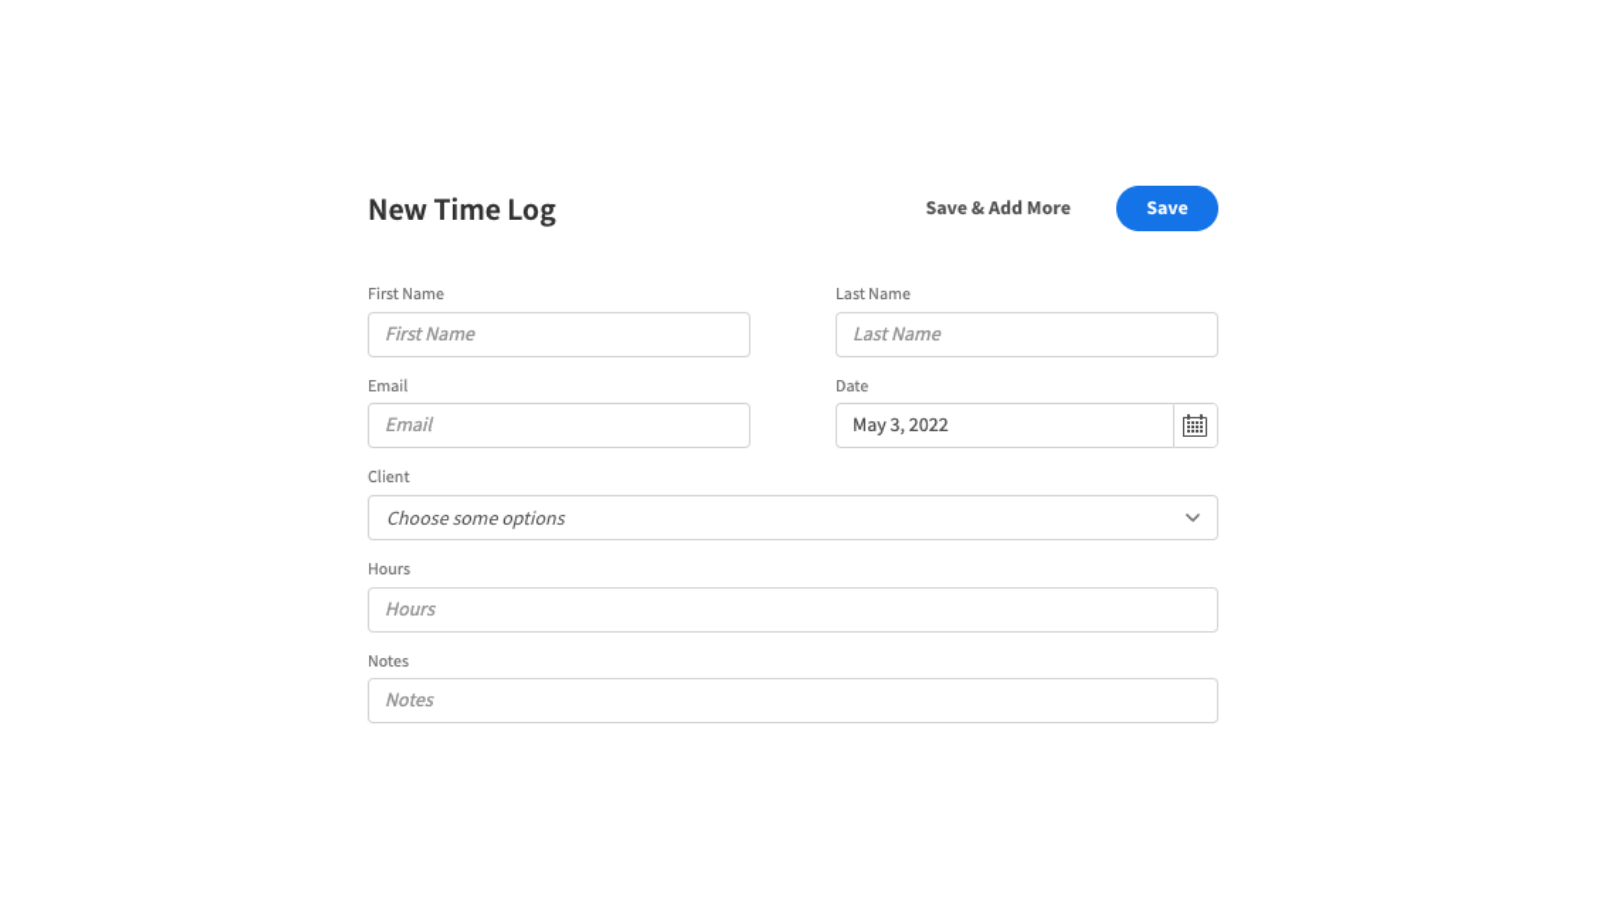
For example, if we were building an employee timesheet app, our high-level requirements would look something like this:
- Employees should be able to log hours against different projects.
- Project owners should be able to monitor time usage.
- Project owners should be able to query and approve timesheet submissions.
- The application should offer integration with CRM and billing platforms.
Of course, these are just a few illustrative examples of the kinds of requirements that we might settle on.
2. Define business processes
Next, we can start fleshing out our requirements into more specific processes. This means outlining what the application should do in response to different events and triggers. This includes system processes, as well as responses to user actions.
Again, we still want to do this in abstract terms, without worrying about specific variables.
This step is also known as creating a logical data model.
Later, we’ll use this information to build a more concrete data structure that deals more granularly with specific data elements - including relationships between data objects.
For now, though, we can simply outline our desired processes using non-technical, business language.
For example, we could outline the following business processes for our timesheet example:
- The application should calculate labor costs for all timesheet submissions.
- Project managers should be notified when an employee submits a relevant timesheet.
- Project managers should be able to view the status of each project, in terms of expenditure and time usage.
- Employees should be able to edit only their own submissions. Project managers should be able to edit any relevant submissions.
- The system should integrate with external platforms to generate and send invoices, based on project timesheets.
Again, these are just a few examples of business rules. The goal of logical modeling is to flesh out the different actions users can take, and how our application will respond, along with any other processes it might conduct in the background.
Then we can start planning the data we’ll need to achieve this.
3. Create a conceptual data model
The next step is to create a conceptual data model. This is a more structured plan for the data we’ll need to implement the processes we identified in the previous step. For now, we’ll carry on using non-technical, business terminology. The more specific technical details come later in other types of data models.
Creating a conceptual model is all about figuring out how different kinds of data will be structured to meet our goals.
The first step here is to decide the broad entities our data will consist of. Then we can outline the information that we need to know about each of these and start drawing up general links between them.
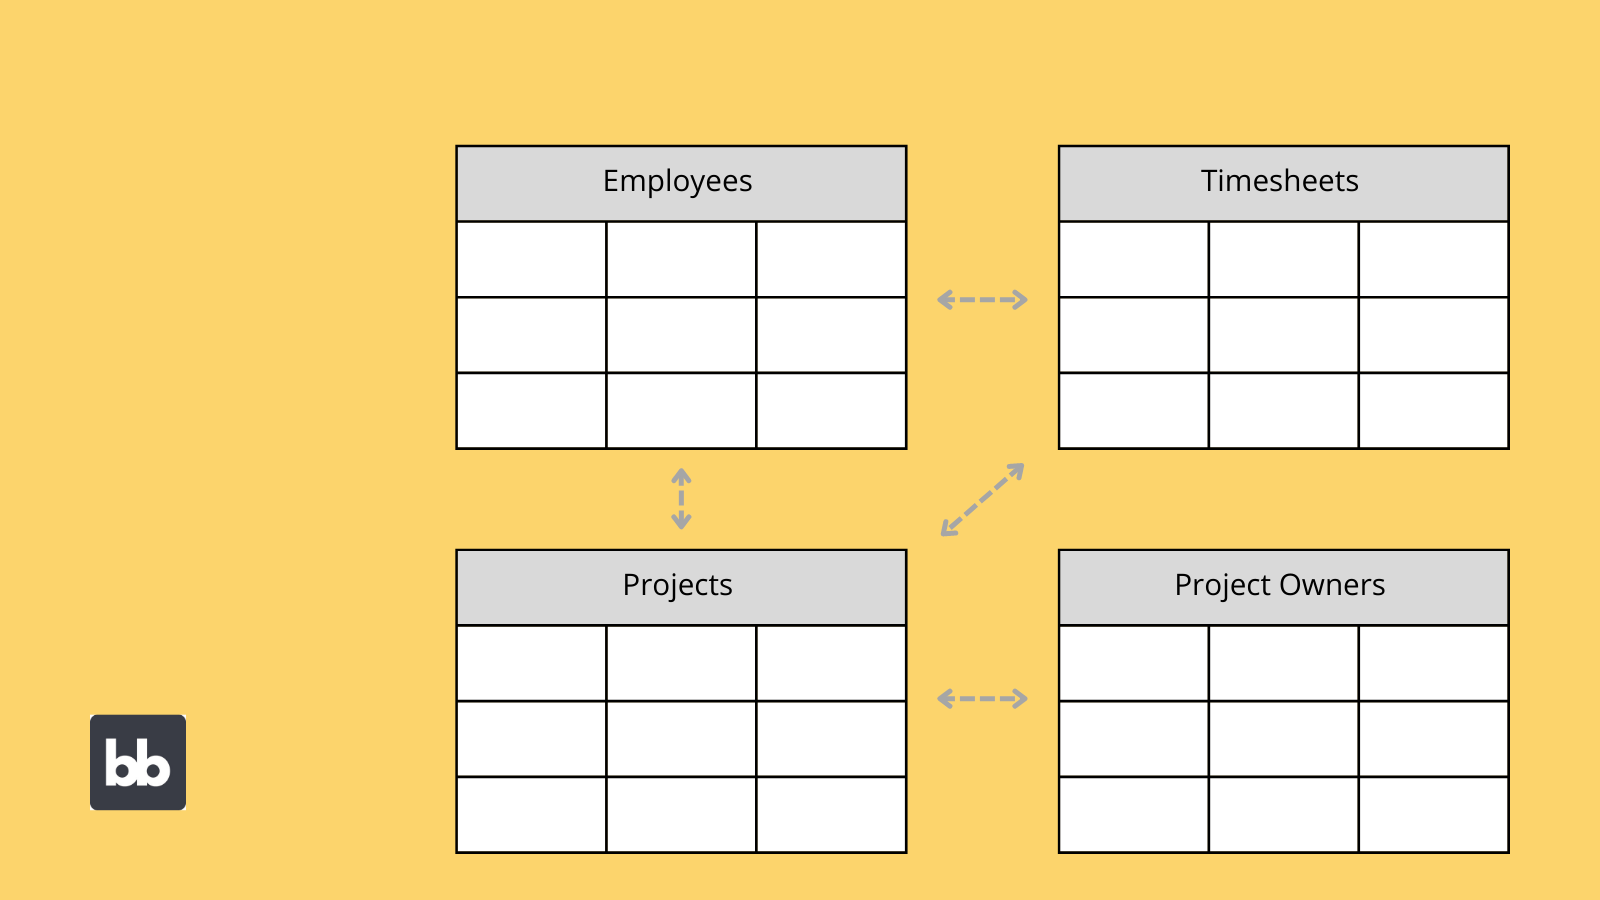
So, in our timesheets app example, our entities would need to include:
- Employees,
- Projects,
- Project owners,
- Timesheets,
- Users.
Depending on your business, you could add extra entities. For example, individual tasks within projects, or other resources you need to implement them.
Next, we’ll create a brief outline of the kinds of data we’ll store for each entity. For example, your employee’s personal and professional details, and hourly rates, or the requirements, budget, and goals of each project.
Finally, your conceptual model should include an overview of how different entities are related. For example, each project has one owner, each employee can submit multiple timesheets, et cetera.
4. Define entities and attributes
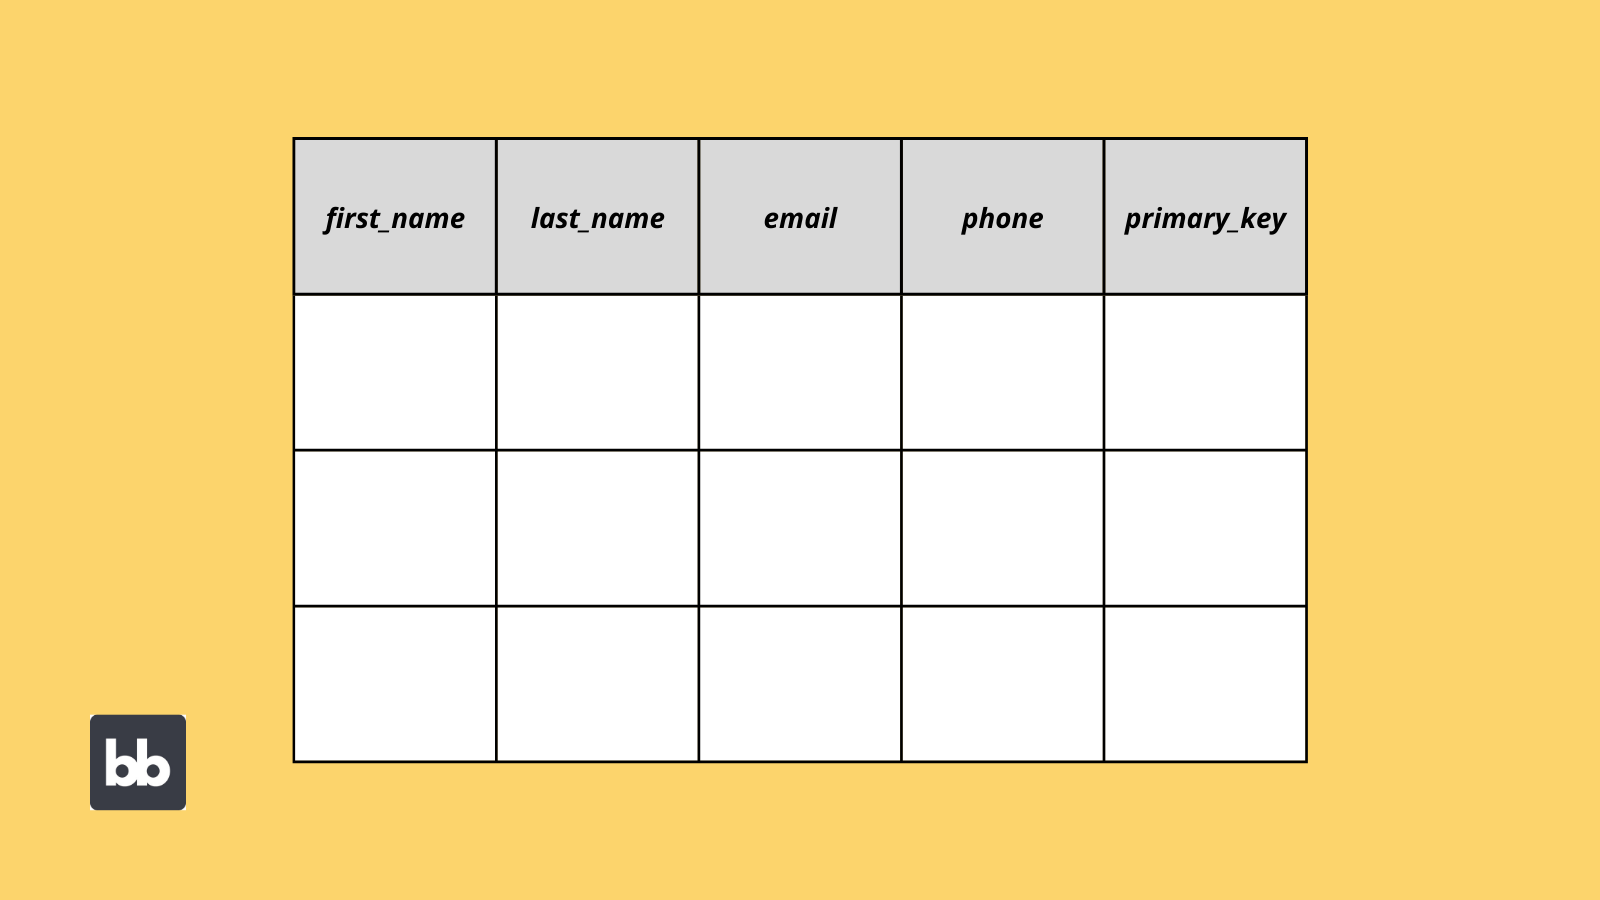
Once we’ve identified our entities, we can start to define them more closely. The most common way to do this is to translate each entity into a distinct database table. Here, the rows will represent each individual instance of our entity, like a specific employee or project.
Each column will represent a specific attribute we want to store for each of our entities. This means we need to decide:
- The specific variables we need to know,
- How they’ll be formatted,
- What we’ll call them,
- And any rules we’ll apply to them.
If you decide that you need to create a new database for your application, this will form part of your schema. If you’re going to rely on existing data, you’ll need to take this into account when choosing your sources.
Check out our in-depth guide, what is a database schema , to find out more.
5. Identify data sources
A large part of your data model is actually figuring out where values will come from, and how they should be stored for your app to function properly. This means identifying your app’s data sources.
This can include:
- Internal databases,
- External databases,
- APIs and web services,
- Flat files,
- Other existing business assets.
Note that these are the main sources of existing data that we can use. We can also add or update values within them by sending queries from our finished app, depending on the data modeling techniques we want to use.
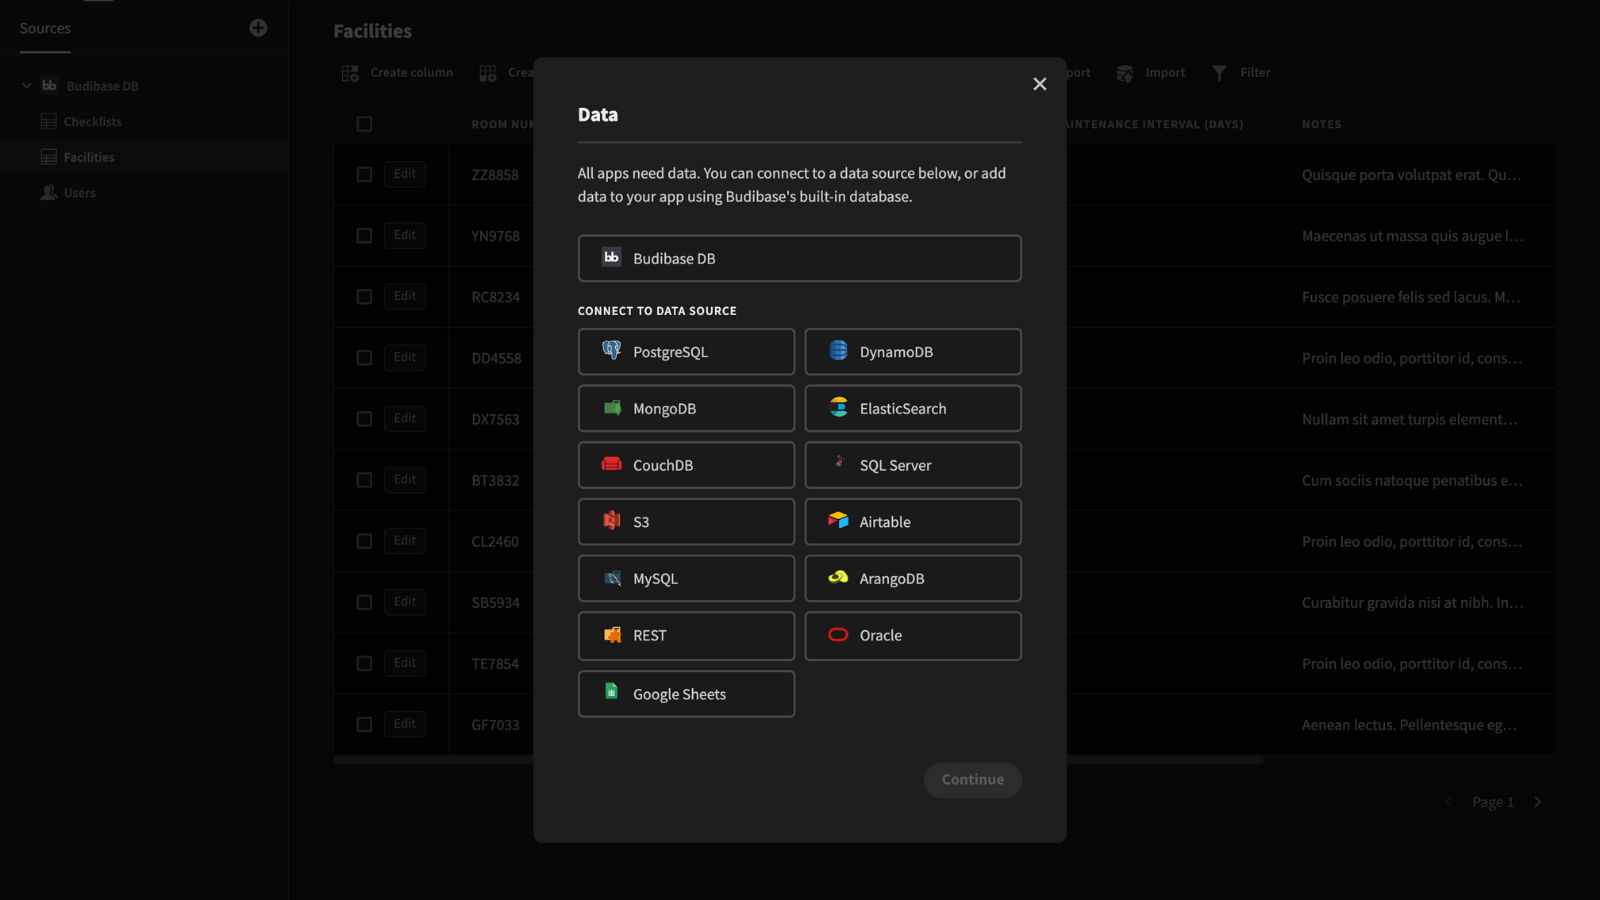
One of the key tasks here is deciding whether to create entirely new data sources or to rely on existing ones. Of course, we can build our data model around a combination of both.
Often, there are different options available to achieve similar results.
Let’s think about the different ways we could structure the data sources for our employee timesheet.
The simplest option would be to build a dedicated internal database around the entities we already identified. This would offer us the most control over how our attributes and entities are structured and stored, as we’d have to create our own database schema from scratch.
However, this would also make integration with other platforms a little bit more complicated.
We could also connect to an existing, external database, either directly, or using an API.
That is, assuming that a suitable database exists. Naturally, this saves us going to the effort of creating our own. It also makes it easy to integrate with any other tools that already query the same data.
The downside is that the schemas of existing databases might not match our needs. In this case, we’d need to transform query outputs to format the data in a way that meets our requirements.
Often, we’ll need to do a combination of the two. So, in our timesheet app, we might pull employee details and project information from external sources, but create an internal database to store user inputs for timesheet submissions.
We’ve also created a guide on how to integrate multiple databases .
6. Establish relationships between entities
Earlier, we briefly touched on how to define relationships between different entities within our data model. Now that we have a firmer, technical view of our entities, we can establish more specific relationships between them.
There are a few different things to keep abreast of here.
First of all, it’s important to choose the correct kind of relationship for each set of entities. There are a few options here:
- One-to-one relationships.
- Many-to-one relationships.
- Many-to-many relationships.
We’ll also need to decide which columns in each table to build the relationships around. The specifics here will depend on your DBMS.
For example, within a single SQL database, you’ll need to define primary keys for each row in a given table. These are unique values, used by other tables to reference related rows. When a primary key appears in a related table, it’s what’s known as a foreign key.
If your data model contains multiple databases, you’ll need to take additional steps to establish relationships. For example, building an internal database, so you can query and store entities from different sources.
7. Physical modeling
Next, it’s time to create a physical data model. This includes the more specific detail of how you’ll structure any internal databases, and how you’ll connect to external data sources.
As such, creating a physical model essentially means putting the previous steps into practice.
If you’re creating your own database design for your app, this means defining specific names for all of your attributes, as well as their types, formats, integrity constraints, and any other rules governing them.
Check out our guide to database schemas for more information
When working with external data sources, we’ll also have to think about how we connect these to our app. One way to do this is to manually point to the source’s name, location, authentication details, and other information in our app’s code.
With low-code tools and other newer app-building platforms, we can also use dedicated data connectors.
These are dedicated interfaces for establishing a connection to specific kinds of external data. Rather than manually creating the necessary code, you can simply input the required information in a GUI.
Depending on the tool and data source, you can then manually create the queries you need, or import all available queries provided by the source.
8. Normalization and ensuring the integrity of data
One of your major goals, when you create a data model, is to ensure the long-term validity, reliability, and integrity of your app’s data. This includes avoiding redundancy, conflicting values, formatting issues, and more.
One way to do this is through data normalization.
Normalization is a topic in itself. Essentially this is a set of strategies you can use to prevent redundancy and anomalies as you maintain data.
There are many techniques available to you here.
The most common relates to how you structure your data in the first place. More specifically, the goal is to create entities, that each deal with one specific theme or idea. If you’ve followed the advice we’ve given so far, this will already be built into your data model.
The rule here is that any time a group of values could apply to more than one row on a table, you should consider creating a dedicated entity for these, and using relationships to link it to the original table.
This improves performance, as well as lowering the storage space we need.
For example, in an employee directory, we could have attributes called department_name, department_phone, and department_head stored against each individual employee row.
This would mean we’d have to store the exact same information multiple times across the employee_details table.
It would also be unnecessarily difficult to list all of the company’s departments or change their details.
A better solution would therefore to create a dedicated departments table and link the relevant row to each employee’s entry. This provides easier querying, and maintenance, as well as reducing the load on your servers.
Take a look at our guide to CAP vs ACID to learn more.
9. Maintaining your data model
Even once your data model is implemented, there’s still the issue of maintaining it. This poses several challenges, especially when it comes to scaling your application. For instance, when it comes to growing your data set and adding new functionality to the app itself.
It’s crucial that you can respond to change, without undermining your data model.
This can mean adding objects, altering existing ones, modifying relationships, or changing individual attributes.
The key is ensuring that your data model is easily adaptable when change is required. For example, if you need to add new functionality, entities, attributes, processes, or relationships.
That is, you must be able to make your required changes, without compromising other elements of your data. For instance, a change to one attribute might inadvertently impact another, through a transitive dependency.
So for example, you might need to alter the format of a particular attribute to implement support for a new third-party tool. In doing so, there’s a danger that you could break any other elements of your data model that depend on this attribute.
It’s crucial to put steps in place to prevent this.
Beyond this, there’s the challenge of ensuring you have adequate server capacity to facilitate growth, both in terms of storage space and user numbers. Adequate planning for this during the modeling stage helps to prevent the need for data migrations later.
For a more practical example, check out our tutorial on workflow management database design .
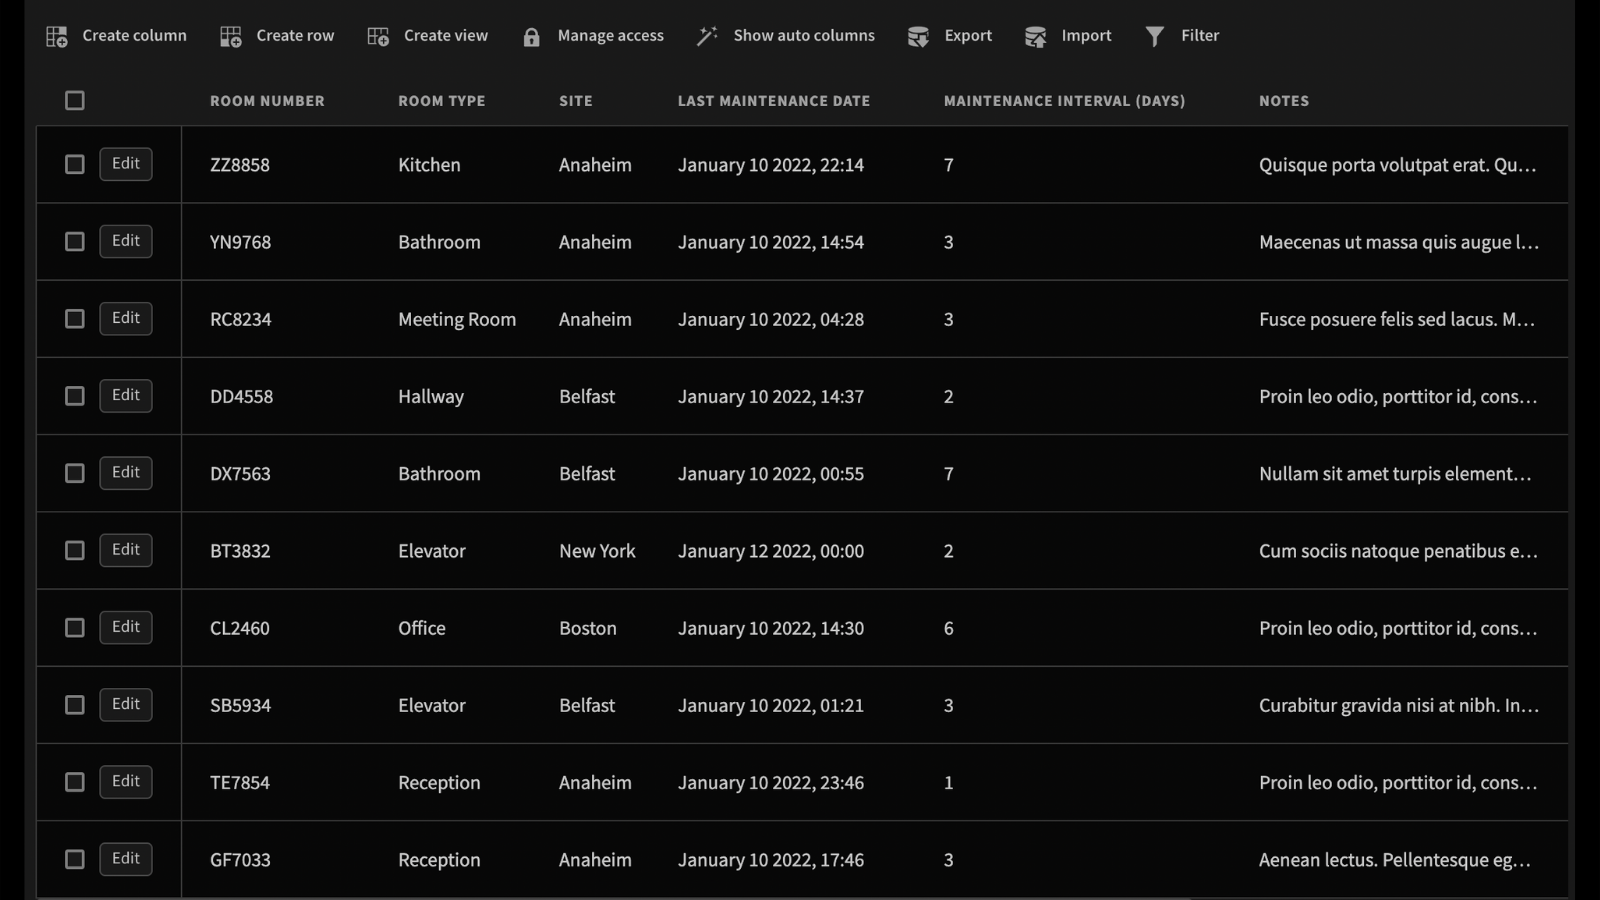
Data modeling in Budibase
There are countless data modeling tools on the market today. Budibase offers a range of features to make it faster and easier to create an effective data model for your app.
We offer dedicated connectors for most common external data sources, including:
- SQL.
- Postgres.
- REST API.
- Oracle.
- MongoDB.
- CouchDB.
- Oracle.
- Google Sheets.
Our built-in database offers a simple, intuitive way to create a bespoke structure for your data. BudibaseDB features relational data, extensive support for multiple data types, direct CSV imports, and more.
Build entities, create attributes, assign values, and link tables, all at the click of a button. With BudibaseDB, it’s easy to create and maintain the perfect data model for your app, with minimal coding skills.
Check out our ultimate guide to web app data sources .
Sign up now to get started with Budibase, for free.